Welcome to DIYskate.com. My name is Jason and this is my contribution to the skateboarding community. There's over fifty pages of free plans which I have designed and engineered to hopefully be the most accurate, cost effective and enjoyable ramp plans and how to make a skateboard plans on the internet.
They're all free and can be found by following the navigation above.
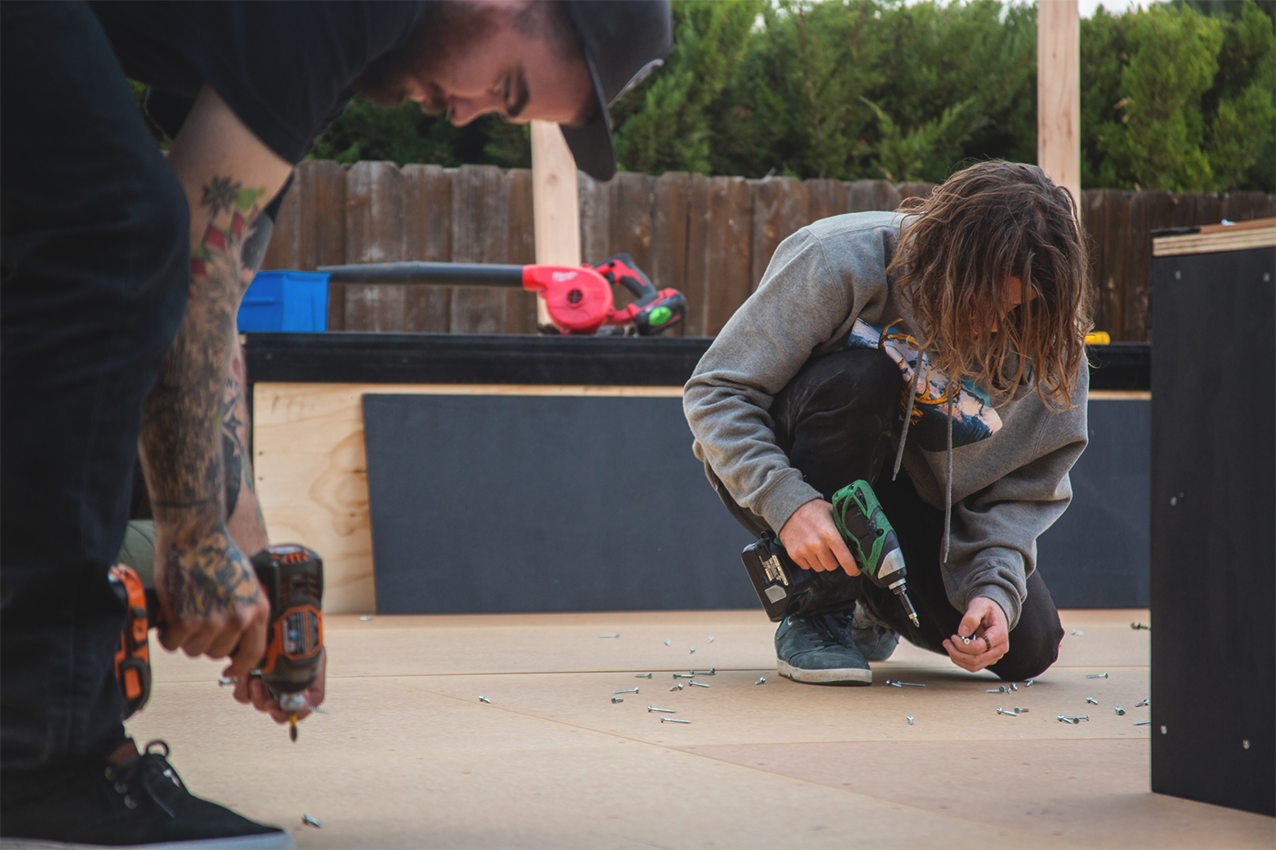
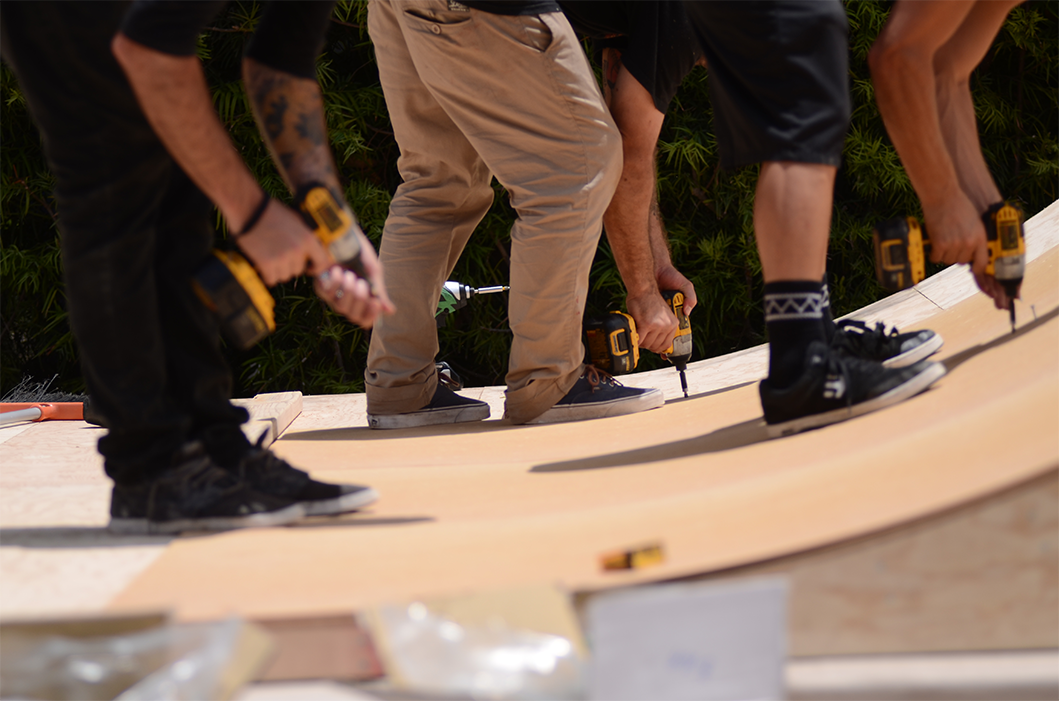
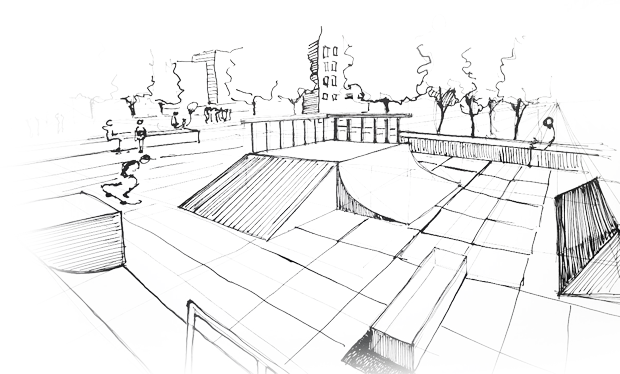
Clicking on the DIY Ramps link will take you to a page full of ramp plans including kickers, grind boxes and ramps.
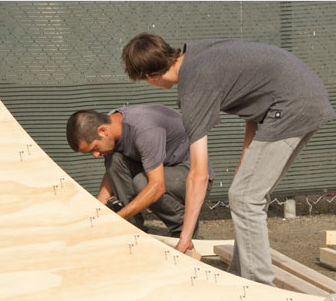
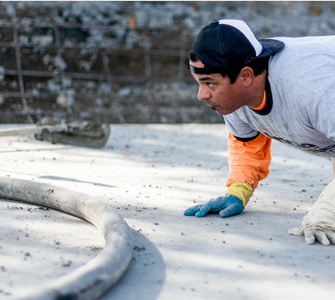
The DIY Skateboard link will take you to a page with articles on how to make your own skateboard. With pages like, how to make a wood skateboard mold and a concrete skateboard mold (spoiler alert, the wood mold isn't worth it in my opinion, stick with the concrete mold). And how to make the press and even where to get the veneer and glue to make your own skateboard deck. Try it, there's nothing like the satisfaction of you and your buddies skating decks you've made yourself. And who knows, maybe you'll end up starting your own skateboard company... There's already a couple skateboarding companies out there that have started from the plans on this very site.
info@diyskate.com
info@diyskate.com